StandFinder Field Notes
Farmstand photography guide: photos that bring shoppers in
Create clear, honest farmstand photos with a phone, including a recognizable hero image, safe entrance view, product details, useful alternative text, and seasonal updates.
In this guide · 18 sections
Good farmstand photography is not about making a small operation look like a lifestyle catalog. It is about helping a nearby shopper answer practical questions before making the drive: Is this the right place? What is available? Where do I turn? Does the stand look active, cared for, and worth checking today?
A modern phone is capable of making every image a farmstand listing needs. The larger difference comes from light, timing, a short shot plan, and choosing photographs that tell the truth quickly. This guide covers a repeatable approach that can be completed during an ordinary open day without turning the farm into a photo studio.
Decide what each photograph must explain
Do not begin by walking around and taking fifty unrelated pictures. List the questions a first-time visitor will have, then create one useful image for each answer.
A complete listing usually benefits from:
- A wide hero view showing the stand at its best
- The approach from the direction most shoppers arrive
- The safe entrance and parking area
- A medium view of the full current display
- Close details of three or four anchor products
- A payment or checkout view without exposing cash or private information
- A seasonal or human image that shows the farm's character
Every image should have one main job. A picture of distant rows, a dog, three tractors, and a tiny stand may be charming to the owner but confusing to a shopper. Move closer or simplify the frame.
Prepare the stand without making it unrecognizable
Clean and organize before photographing, but preserve the real shopping experience. Remove trash, hoses, tools, personal drinks, empty packaging, damaged produce, wilted leaves, and unrelated equipment. Straighten prices and labels. Restock small containers so the display looks cared for.
Do not build a display that will never exist again. If the photograph shows twelve products but a normal Saturday offers three, customers may feel misled. Photograph the stand during a genuinely strong moment and update the listing when the season changes.
Look behind the subject. A bright bucket, open vehicle door, extension cord, or cluttered shelf can distract from the produce even when it felt invisible in person. Check the corners of the phone screen before taking the picture.
Use soft natural light
Direct midday sun creates deep shadows under canopies, glare on jars, and washed-out highlights on pale signs. Early morning, late afternoon, open shade, or a bright overcast day usually produces more even results.
If the stand opens at noon, photograph before direct sun reaches the display or position yourself so the stand is evenly shaded. Avoid mixing strong sunlight and deep shade in one frame. A phone may expose for one area and lose detail in the other.
Turn off the phone flash. Small flashes flatten produce, create harsh reflections, and make an outdoor stand look dark behind the subject. Move toward better light instead.
Clean the camera lens with a soft cloth. Farm dust and fingerprints create haze around bright areas, and the problem is often mistaken for a weak camera.
Make the hero image immediately understandable
The hero photograph is the first visual on a listing or article card. A shopper should recognize a farmstand at thumbnail size.
Stand far enough back to include the structure, display, and a little context, but not so far that the produce disappears. Hold the phone level. Vertical posts and building edges should look reasonably straight instead of leaning because the camera was tilted.
Use the standard camera lens rather than an extreme wide-angle setting when possible. Ultra-wide lenses can stretch produce and make the stand seem larger than it is. Step backward safely instead of zooming out excessively.
Create both horizontal and vertical versions. Horizontal images fit directory cards, website headers, and social link previews. Vertical images work better for phone-first stories and some social posts. Do not assume one crop will serve every placement.
Leave a little open space around the focal subject. Websites crop images differently on desktop and mobile, and a tightly framed face or sign may be cut off.
Photograph the approach and entrance
One of the most useful listing images may not be the prettiest. Stand from a safe off-road location and show what a driver will see before turning. Include the entrance, permanent landmark, and stand relationship when possible.
Never stand in a travel lane, photograph while driving, or ask someone to stop unsafely for a staged image. If the road cannot be photographed safely, use a clear entrance photograph taken from the property and add written directions.
Check the map pin separately. The best entrance picture cannot correct a pin dropped at the center of a large farm. Place the pin where customers should arrive and explain any gate, driveway color, or landmark that is stable and legal to reference.
Avoid publishing house numbers, license plates, neighboring children, or private areas unless they are necessary and appropriate. Crop or blur sensitive details before uploading.
Show a current full-display view
The wide product image helps shoppers understand variety and scale. Photograph after restocking and before the busiest rush, when items are fresh and containers are orderly.
Frame the table from a slight angle rather than directly overhead. This shows depth while keeping labels near the correct products. Use clean crates and baskets, but do not let containers become more prominent than the food.
If prices are visible, confirm they are current and readable. Old prices in a permanent listing create confusion. When prices change frequently, create a full-display photograph with small labels outside the sharp focal area and provide current pricing in listing text.
Photograph partner products accurately. If bread, eggs, honey, or flowers come from another producer, identify the source in the listing instead of allowing the image to imply everything was made on one farm.
Capture product details with scale and texture
Close photographs are useful for products that differentiate the stand: a distinctive heirloom tomato, clean bunch of carrots, berry pint, flower bouquet, or jar with an approved label.
Move near the product and tap it on the phone screen to focus. Keep the camera steady with both hands. Use the normal lens and avoid digital zoom, which discards detail. A stable crate or table edge can support your hands in low light.
Include natural scale when it helps. A pint container, bunch tie, or person's hand can show size. Do not create misleading scale with tiny props or forced perspective.
Choose a representative product, not the only perfect berry in a damaged flat. The goal is to communicate quality honestly.
Include people with consent
Hands arranging produce or a grower standing behind the display can make the listing feel active and personal. Candid work often looks more natural than a rigid pose.
Obtain clear permission before photographing workers, shoppers, volunteers, or children. Explain where the image will appear. A person agreeing to a private photograph has not necessarily agreed to public advertising.
Do not photograph customers at payment in a way that reveals their name, card, phone screen, cash, license plate, or purchase history. For a checkout scene, use a staged transaction with consenting adults and blank or protected screens.
If someone does not want to appear, photograph hands, the back of a grower, or the stand without people. Strong farmstand photography does not require faces.
Use a short phone-camera checklist
Before each shot:
- Clean the lens.
- Confirm the phone is using its highest normal photo quality.
- Turn off filters and beauty effects.
- Hold the phone level and steady.
- Tap the main subject to focus.
- Lower exposure slightly if bright areas lose all detail.
- Check the background and frame edges.
- Take three versions with small position changes.
Avoid portrait mode for wide stand views. Artificial background blur can make produce edges and signs look strange. It may work for a single product when the separation is clean, but compare it with the normal photograph.
Do not use screenshots from video as primary listing images unless there is no alternative. They often have lower detail and awkward motion.
Compose for clarity, not camera rules
The familiar rule of thirds can help, but the most important rule is a clear subject. Place the stand or product where it commands attention. Use table edges, shelves, rows, or a driveway to guide the eye toward it.
Move your feet before reaching for zoom. A step left may remove a utility pole from behind a person's head. A lower viewpoint can make a display feel abundant, while a slightly higher viewpoint may explain the product arrangement.
Take one safe variation from each useful angle:
- Eye level for an honest visitor's view
- Slightly low for a strong hero image
- Slightly high for product organization
- Close for texture and detail
Stop after the story is covered. Hundreds of nearly identical images make it harder to identify and update the best ones.
Edit lightly and consistently
Basic editing can correct a crooked horizon, improve crop, recover moderate shadows, and bring color closer to what the eye saw. It should not turn a dull tomato neon red or erase real damage from a product offered for sale.
Use the phone's built-in editor:
- Straighten vertical and horizontal lines
- Crop distractions
- Adjust brightness modestly
- Reduce highlights if labels or pale surfaces are blown out
- Lift shadows carefully under a canopy
- Correct warmth so greens and cream surfaces look natural
- Apply the same general color treatment across the set
Avoid heavy presets, fake skies, intense saturation, strong vignettes, and background replacement. Consistency creates a publication feel without sacrificing credibility.
Save an original before major edits. Export a high-quality version large enough for the website; the site can optimize delivery.
Choose filenames and alternative text that explain the image
A filename such as IMG_4837.jpg provides no context to an editor. Use a stable descriptive name such as greenfield-farmstand-summer-display.jpg or oak-road-farmstand-entrance.jpg. Avoid stuffing a filename with repeated keywords.
Alternative text helps people who use screen readers and can appear when an image fails. Describe the useful visual information in one concise sentence:
> Wooden roadside farmstand displaying tomatoes, sweet corn, greens, and sunflower bouquets.
Do not write “image of,” repeat the article title, or list keywords. If a decorative image contributes no information, the site may intentionally use empty alt text, but listing and article hero images usually carry meaningful context.
Build a repeatable seasonal shot list
One permanent image cannot represent an entire farm season. Create a short update schedule tied to real changes:
- Opening week
- First major summer harvest
- Peak abundance
- Fall display
- Holiday or winter hours
- Any major entrance or structure change
Keep one stable entrance image as long as it remains accurate. Replace product views when the pictured items are no longer available. Archive old images by season rather than deleting every original.
Add the best current set to your StandFinder grower listing. Lead with the recognizable hero, follow with approach and parking, then show current products and a human detail. The order should move from “I found it” to “I want to visit.”
Photograph availability updates in five minutes
Daily or weekly availability photos do not require a full shoot. Use the same clean corner of the stand, similar light, and a consistent viewpoint. Arrange only the products actually available.
Take one horizontal image, one vertical image, and two product details. Add a caption with the date, hours, and a reminder that quantities can sell out. If something is gone, update the listing or post rather than leaving an outdated abundance image active.
Consistency makes a simple phone photograph recognizable. Customers learn that a certain angle means a current harvest update rather than a permanent marketing picture.
Avoid claims a photograph cannot prove
A field image does not prove that produce is organic, pesticide-free, sustainable, or grown entirely on site. Use captions and listing fields for specific verified practices. Follow certification and labeling requirements.
Do not use another farm's image as inspiration so literally that shoppers mistake it for your property. Never download a search result or stock photograph and present it as the current stand.
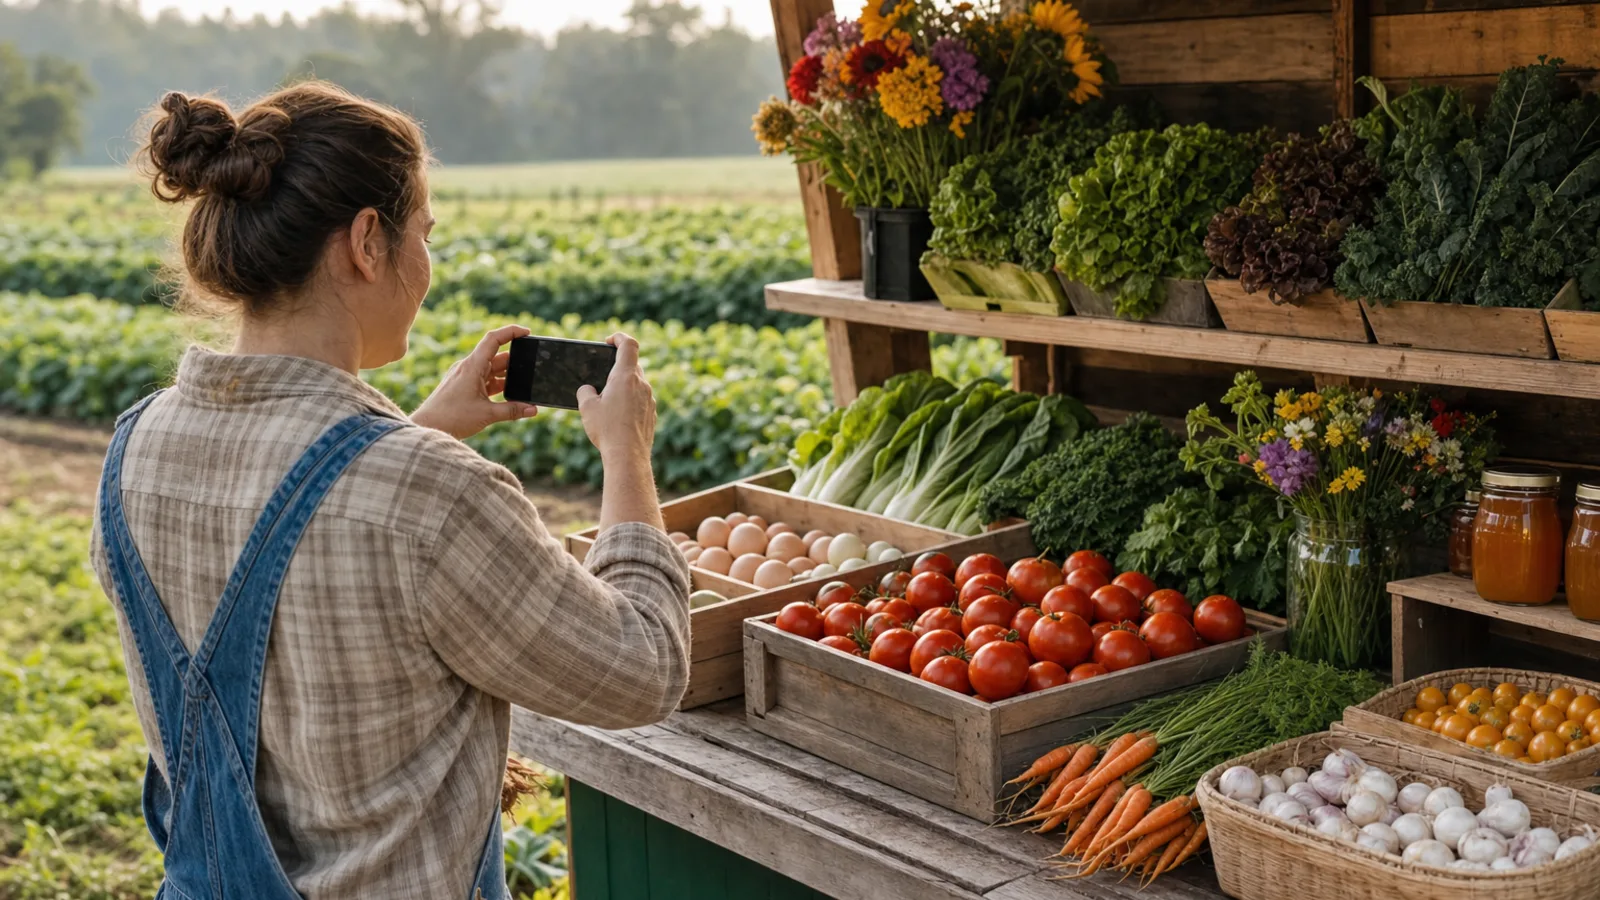
AI-generated images can illustrate editorial guides, as the original artwork in StandFinder Field Notes does, but a farmstand listing should use real photographs of that farm, entrance, and products. Label illustrative content when confusion is possible.
Measure whether stronger photographs help
Before replacing the set, note listing views, direction clicks, messages, and common customer questions. Update the hero and supporting images, then compare a similar period while accounting for season and promotion.
Useful signals include:
- More direction or website clicks from similar listing traffic
- Fewer messages asking where to turn or where to park
- More visits mentioning a specific product photograph
- Higher interaction with current availability posts
- Fewer disappointed customers expecting an out-of-season item
Do not evaluate only likes. A clear entrance photograph may attract little social attention while preventing ten confusing arrivals.
A 45-minute farmstand photo plan
First ten minutes: clean the lens, remove clutter, straighten the display, verify prices, and decide the seven required shots.
Next fifteen minutes: photograph the wide hero, approach, entrance, parking, and full display in both horizontal and vertical framing.
Next ten minutes: capture three anchor products, one useful sign or checkout detail, and a consenting grower at work.
Final ten minutes: review focus and exposure on a larger screen, retake weak images, choose the lead photograph, and write filenames and alt descriptions while the details are obvious.
Repeat a shorter version when the season changes.
Show the real reason to stop
The strongest farmstand photo is clear before it is beautiful. It shows a real place, a safe arrival, fresh current products, and the care behind the display. Soft light and thoughtful framing make that information easier to notice; they do not replace it.
Browse the StandFinder marketplace to see how listing images appear alongside maps and product information, then update your own grower listing with a complete visual path from road to checkout. A nearby shopper should feel that the first visit has already become a little more familiar.