StandFinder Field Notes
How to keep farmstand produce fresh from harvest to display
Protect produce quality with better harvest timing, shade, clean handling, rapid cooling, crop-specific storage, smaller displays, inventory rotation, and heat planning.
In this guide · 22 sections
Farmstand freshness is created in the hours between harvest and sale. Variety and soil matter, but so do harvest temperature, shade, clean containers, cooling speed, humidity, airflow, handling, and display quantity. A beautiful crop can lose crispness and value before the first customer arrives if those steps are improvised.
There is no single storage temperature for “produce.” Lettuce, tomatoes, basil, berries, potatoes, onions, and winter squash have different needs. The goal is to move each crop through a simple chain that protects its quality and food safety without requiring an industrial packing house.
Map the trip from field to customer
Draw the path a product follows:
- Harvest
- Field shade
- Transport to wash-pack
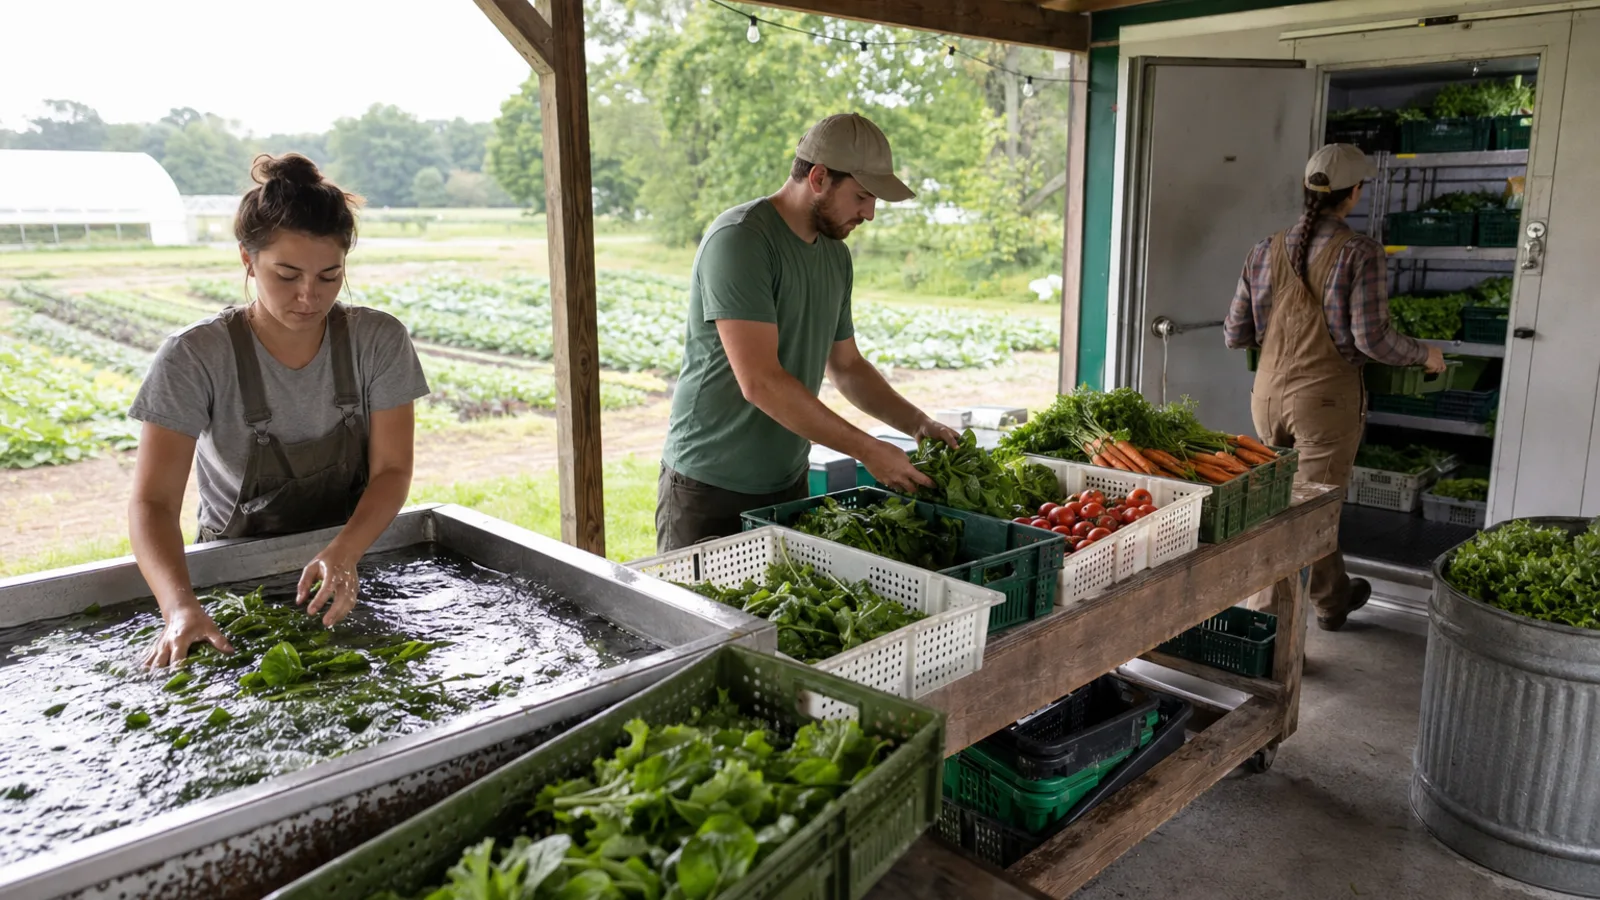
- Washing or dry cleaning when appropriate
- Cooling
- Grading and packing
- Storage
- Transport to the stand
- Display
- Unsold-product decision
Record the time, temperature exposure, container, and handling at each step. The longest delay or hottest location is often more important than a new cooler.
Walk the route during peak harvest. A crate may wait in full sun while another bed is picked, sit near a hot wash-pack roof, or ride in an enclosed vehicle. These small delays accumulate.
Harvest during the coolest practical window
Many crops benefit from harvest in the cool morning, after field heat has dropped and before direct sun becomes intense. The best time also depends on dew, disease, worker safety, road access, and the product.
Avoid harvesting leafy crops when they are wilted from afternoon heat unless the crop and cooling system can recover quality appropriately. Keep harvested containers out of direct sun. A light-colored canopy, field cart with shade, or frequent trips to the pack area can be more valuable than larger harvest bins.
Do not overfill containers. Compression bruises tomatoes, berries, peaches, cucumbers, and greens. Use shallow or crop-appropriate crates and set them down rather than dropping them.
Train harvesters on maturity and defects. Removing damaged produce in the field can reduce handling, but culls must be managed so they do not become a pest or food-safety problem.
Start with clean hands, tools, and containers
Fresh-looking produce is not necessarily safe, and washing does not correct every field contamination. Build hygiene and sanitation into the routine.
Provide appropriate toilets and handwashing. Keep harvest knives, clippers, bins, tables, and transport surfaces clean and in good repair. Separate produce containers from chemicals, fuel, animals, waste, and personal items.
Use cleaning and sanitizing procedures suited to the surface, product, and operation. Cleaning removes soil and organic matter; sanitizing follows an effective cleaning step when required. Follow product labels and current food-safety guidance.
Retire cracked, splintered, or deeply scored containers that cannot be cleaned effectively. Never repurpose chemical containers for food.
Produce-safety rules and agricultural-water requirements vary by operation and crop. Obtain current guidance from the appropriate regulator, Extension service, or qualified food-safety professional.
Decide whether the crop should be washed
Not every crop benefits from washing before storage. Soil and field debris may need removal from leafy greens and roots, while dry onions, garlic, winter squash, and some potatoes can store better when cured and kept dry.
Washing can spread contamination if the water, equipment, or process is poorly managed. It can also force moisture into wounds and create decay when a crop is packed wet.
Create crop-specific work instructions:
- Whether to wash, brush, or leave dry
- Acceptable water quality and temperature management
- Whether sanitizer is used and how it is monitored
- Drain and drying time
- Container and pack style
- Target storage condition
Do not use the same wash method for greens and ripe tomatoes merely because the equipment is available.
Use water as a managed food-contact input
Water touching harvested produce must be suitable for that use. Know the source, test and treat when required, protect plumbing from backflow, and maintain tanks, brushes, spray bars, and drains.
In batch water, soil and organic matter build up. A sanitizer, when used, must be labeled for the purpose and monitored correctly; it does not turn dirty water into clean water. Water temperature can also influence infiltration into certain produce and should follow crop-specific guidance.
Do not top off a dirty tank indefinitely. Establish water-change triggers, cleaning steps, test records, and who has authority to stop the line.
Move wet produce to clean draining surfaces. Keep dirty incoming crates separate from clean packed containers so the workflow does not cross back on itself.
Remove field heat quickly
Cooling slows water loss, respiration, and many deterioration processes. The useful method depends on the crop, scale, packaging, water quality, and available equipment.
Room cooling places produce in a cooler and relies on cold air. It is simple but can be slow when warm containers are stacked tightly.
Forced-air cooling pulls cold air through vented packages and removes heat faster. It requires a well-designed fan, tunnel, package vents, and monitoring.
Hydrocooling uses cold water for crops suited to wetting and requires careful water management.
Vacuum cooling is effective for certain leafy crops but is specialized and expensive.
Measure product temperature, not only cooler air. A thermostat reading of 36°F does not prove the center of a warm crate has cooled.
Precool before loading the display when possible. A small cooler should not be overwhelmed with an entire hot harvest at once; stagger entry, improve airflow, or add capacity based on measurements.
Maintain humidity without creating free water
Many leafy crops and roots lose quality when air is too dry. High relative humidity can reduce water loss, but condensation and standing water support decay and create slippery, unsanitary surfaces.
Use crop-appropriate bags, liners, covers, or humidification while preserving airflow. Do not seal warm produce in an airtight bag; cool it first and follow the crop's packaging needs.
Monitor temperature and humidity with instruments placed in representative locations. A cooler can have cold, wet corners and warm shelves. Keep product away from walls where freezing or condensation occurs.
Repair door gaskets, minimize open-door time, clean drains, and avoid placing hot equipment or direct sun near the cooler.
Group crops by compatible conditions
One cooler is common on a small farm, but not every product belongs in it. Divide products into practical groups and use separate rooms, coolers, insulated cabinets, or timed storage where possible.
Cold-loving, high-humidity crops often include leafy greens, broccoli, carrots, beets, and radishes after appropriate handling. Warm-sensitive crops such as basil, cucumbers, eggplant, peppers, and ripe tomatoes may suffer chilling at temperatures that suit greens.
Dry storage crops such as cured onions and garlic need ventilation and conditions different from damp roots. Potatoes need darkness and careful temperature management. Winter squash and sweet potatoes require proper curing and warmer storage than a greens cooler.
Some produce releases ethylene, while other crops are sensitive to it. Apples, ripe tomatoes, and certain fruits may accelerate yellowing or aging in neighboring crops. Use crop-storage references to plan groups.
Label storage zones and train everyone. “Put produce in the cooler” is not a complete instruction.
Handle leafy greens for crispness
Greens lose water rapidly because of their large leaf area. Harvest cool, shade immediately, remove damaged leaves, and cool promptly. Use clean, crop-appropriate washing and drying methods.
Excess water trapped in a bag can shorten life even when the leaves need high humidity. Drain thoroughly or use a clean spinner or forced-air drying system suited to the scale.
Pack loosely enough to avoid crushing and allow cooling. Keep bags and containers off the floor and protected from cooler drips. Rotate by harvest date.
At the stand, display a small quantity in shade and replenish from cold storage. Do not leave the day's entire lettuce harvest on a warm table to create abundance.
Protect tomatoes, peppers, cucumbers, and eggplant
These summer crops are frequently damaged by rough picking, deep containers, direct sun, and unsuitable cold storage.
Harvest at a maturity appropriate to the customer and intended holding time. Use shallow, smooth containers. Keep fruit shaded and avoid stacking heavy product over ripe fruit.
Tomatoes develop flavor and texture differently at various ripeness and temperatures. Do not place them automatically in the coldest greens cooler. Sort cracked or damaged fruit and keep it from leaking onto sound product.
Cucumbers, peppers, and eggplant can lose water and suffer chilling under poor conditions. Use crop-specific target ranges rather than treating “cool” as one setting.
At the stand, protect all four from hot table surfaces and direct afternoon sun. Fabric tablecloths can heat or trap debris; use clean, washable, food-appropriate surfaces.
Keep berries and delicate fruit moving
Berries, cherries, peaches, and similar fruit have short windows and bruise easily. Harvest into the sale container when the farm's food-safety and quality system supports it, reducing transfers.
Pick dry, sound fruit at the proper maturity. Shade and cool promptly. Avoid deep stacks and vibration during transport. Inspect containers for leaking or moldy fruit without repeatedly handling every piece.
Do not mix old and new berries to make a full pint. Rotate lots and keep harvest dates traceable. A customer who discovers a soft layer beneath perfect fruit will remember.
Display small quantities and restock often. Sampling requires a compliant procedure with handwashing, utensils, protection, and waste control.
Preserve sweet corn quality
Sweet corn begins changing after harvest, with rate affected by type and temperature. Harvest at the proper stage, move it to shade, and cool promptly using a method suited to the operation.
Do not pile hot corn in an enclosed mass without airflow. Bins can retain heat even when the room feels cool. Use vented containers and check product temperature.
Keep ears protected from sun and drying at the stand. Replenish a smaller display from cool storage. Avoid soaking ears in unmanaged water simply to make them look fresh.
Communicate harvest date accurately. “Picked today” should mean what it says.
Cure storage crops before selling or storing
Onions, garlic, potatoes, sweet potatoes, pumpkins, and winter squash require crop-specific curing and storage. Curing develops skins or heals wounds under controlled conditions; it is not leaving produce in arbitrary heat.
Harvest carefully to prevent cuts and bruises. Follow local crop guidance for temperature, humidity, duration, and light. Sort out damaged products and check stored lots regularly.
Clean dry storage areas before loading. Control rodents and insects without contaminating produce. Provide airflow and use pallets or shelving rather than placing containers directly on the floor.
At the stand, protect storage crops from freezing, rain, and direct hot sun. Decorative outdoor piles can experience damage before customers see visible symptoms.
Treat herbs and flowers as different products
Tender herbs may wilt quickly or suffer chilling. Woody herbs, basil, cilantro, parsley, and mint have different responses to water and temperature. Test small batches and use crop-specific guidance.
Clean bunching containers and change water safely. Keep leaves intended for food from contacting dirty bucket exteriors or flower preservatives.
Edible products and ornamental flowers should remain clearly separated where treatments, handling, or labeling differ. Never imply that an ornamental flower is edible.
For bouquets, recut and hydrate stems using a managed process. Shade the display and remove cloudy water, decaying leaves, and damaged flowers.
Design the stand as the final cold-chain step
The farmstand is not separate from postharvest handling. Sun, hot wind, customer handling, and repeated movement continue affecting quality.
Use a canopy or permanent roof that shades the display as the sun moves. Check at several times of day. A table shaded at opening may be in full sun by noon.
Insulate produce from hot pavement and vehicle beds. Use clean coolers, refrigerated cases, ice packs, or back-room storage where appropriate. Protect products from melting ice and unclean water.
Create small full-looking displays with risers or false bottoms, then restock. Keep backup containers closed and under the correct conditions.
Assign a quality walk every hour:
- Remove damaged products
- Check temperature-sensitive items
- Rotate containers
- Wipe spills
- Replace cloudy water
- Correct labels
- Restock only what the next period can sell
Be careful with misting
Misting can reduce wilting for certain crops but may also spread contamination, leave standing water, damage labels, and accelerate decay when misused. A spray bottle carried around the stand is not a controlled system.
If misting is used, confirm the crop benefits, use suitable water and clean equipment, protect adjacent products, and prevent wet floors. Clean and maintain any automated system.
Some products should remain dry. Do not mist berries, cured onions, garlic, bread packaging, eggs, or products merely because the display looks fresher when wet.
Shade, smaller display quantities, and rapid restocking are often simpler controls.
Rotate inventory with dates and lots
Use harvest dates or lot codes that everyone can understand. First harvested does not always mean first sold if maturity or condition differs, but older suitable inventory should not be hidden beneath new product.
Keep a receiving or harvest log with product, field or source, date, quantity, and storage location. When a quality problem appears, traceability helps identify whether it began in one bed, wash batch, cooler zone, or display period.
Do not mix partner products with farm-grown lots without preserving the source. If a recall or complaint occurs, accurate records protect customers and the business.
Make a defined unsold-product decision
At closing, classify every leftover:
- Safe and high quality for the next sale
- Suitable for a legal processing plan
- Suitable for prompt donation through a managed partner
- Appropriate for animal feed under the farm's system
- Compost
- Disposal
Do not return display produce to storage automatically. Consider time, temperature, customer handling, damage, and crop type. Mark carried-over inventory so it is evaluated and rotated the next day.
Track quantity and reason. Repeated leftovers may indicate overharvesting, excessive display, incorrect pack size, stale listing information, or hours that miss customers.
Prepare for heat waves and power loss
Hot weather increases field and display pressure. Harvest earlier, shorten field delays, reduce display amounts, check equipment, and schedule more frequent quality walks.
Know the cooler's capacity and recovery time. Loading it with warm produce during a heat wave may raise every product's temperature. Use staged cooling or backup storage.
Create a power-loss plan: who receives the alert, which doors stay closed, where critical products can move, how temperatures are logged, and when product must be evaluated or discarded. A generator requires safe installation, fuel management, ventilation, and maintenance.
Update stand hours when quality cannot be protected. A shorter reliable opening is better than selling heat-damaged produce.
Build a low-cost freshness upgrade
Start with one high-loss crop. Measure harvest time, field wait, arrival temperature, cooling time, display time, and unsold quantity for two weeks.
Then correct the biggest gap:
- Add field shade
- Use shallower containers
- Make more frequent packhouse trips
- Improve wash-water management
- Add a fan tunnel for appropriate forced-air cooling
- Repair cooler seals
- Separate incompatible crops
- Reduce display quantity
- Change harvest timing
Repeat the measurements. Buy new equipment only when the process and capacity requirement are understood.
Explain freshness without making unsupported claims
Use specific language: “harvested Monday morning,” “kept shaded and cooled after harvest,” or “picked in small batches for Friday opening.” Avoid “the freshest anywhere,” health promises, or statements about safety that a photograph cannot prove.
Keep availability and hours current in the StandFinder grower listing. A shopper who arrives promptly because the listing is accurate receives a fresher product, and the farm spends less time holding uncertain inventory.
If a product is a day older but remains excellent, price and represent it honestly. Freshness is careful condition, not a slogan tied to one calendar day.
Freshness is a chain of small protections
The practical system is simple to describe: harvest at the right maturity, keep product shaded, use clean containers and suitable water, remove field heat, store crops in compatible conditions, display less, rotate accurately, and make a deliberate closing decision.
Walk one crop through the chain this week and measure where it waits or warms. Then share a useful improvement with growers in the StandFinder community. Better postharvest handling raises quality, reduces waste, protects the customer's trust, and helps more of the work done in the field become a sale.